August 2019
subaru shifter knob
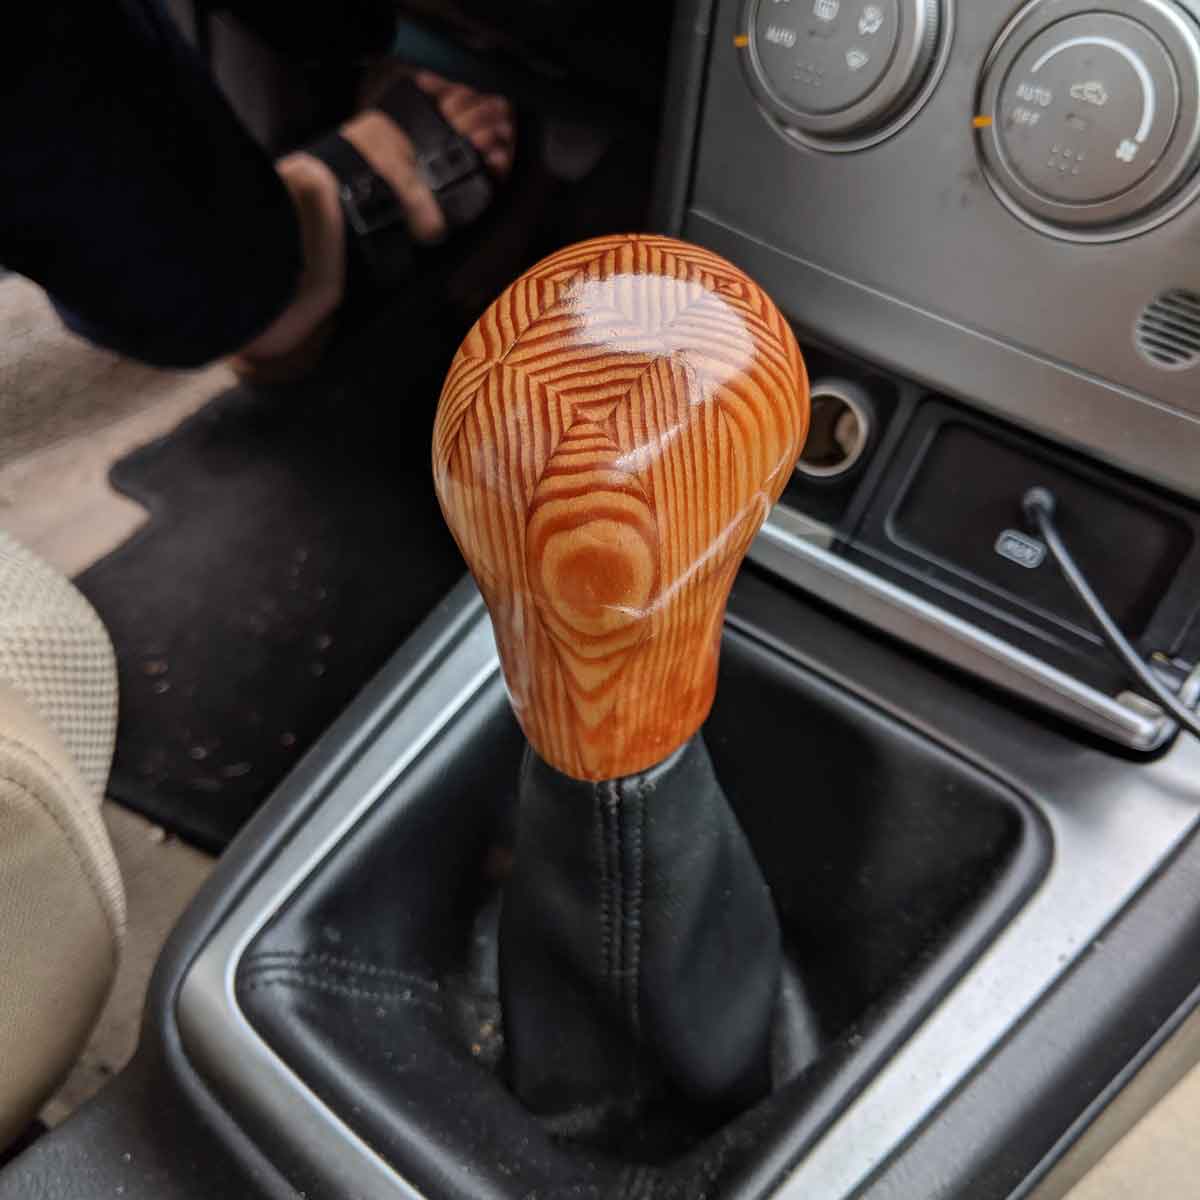
So, I had just gotten a new car-- in fact, my first ever “new” car since the one I had learned to drive with. Naturally, I wanted to personalize it a bit, and one of the first things to come to mind was to custom-make a new shift knob. I’d already made one for my old car, but I wanted to make something better this time. For one, I wanted to make a knob that not only looked good, but felt good too -- since I was going to be using it so much, I wanted to create a form that was ergonomic and felt natural in the hand.
 My first consideration was material. For my previous
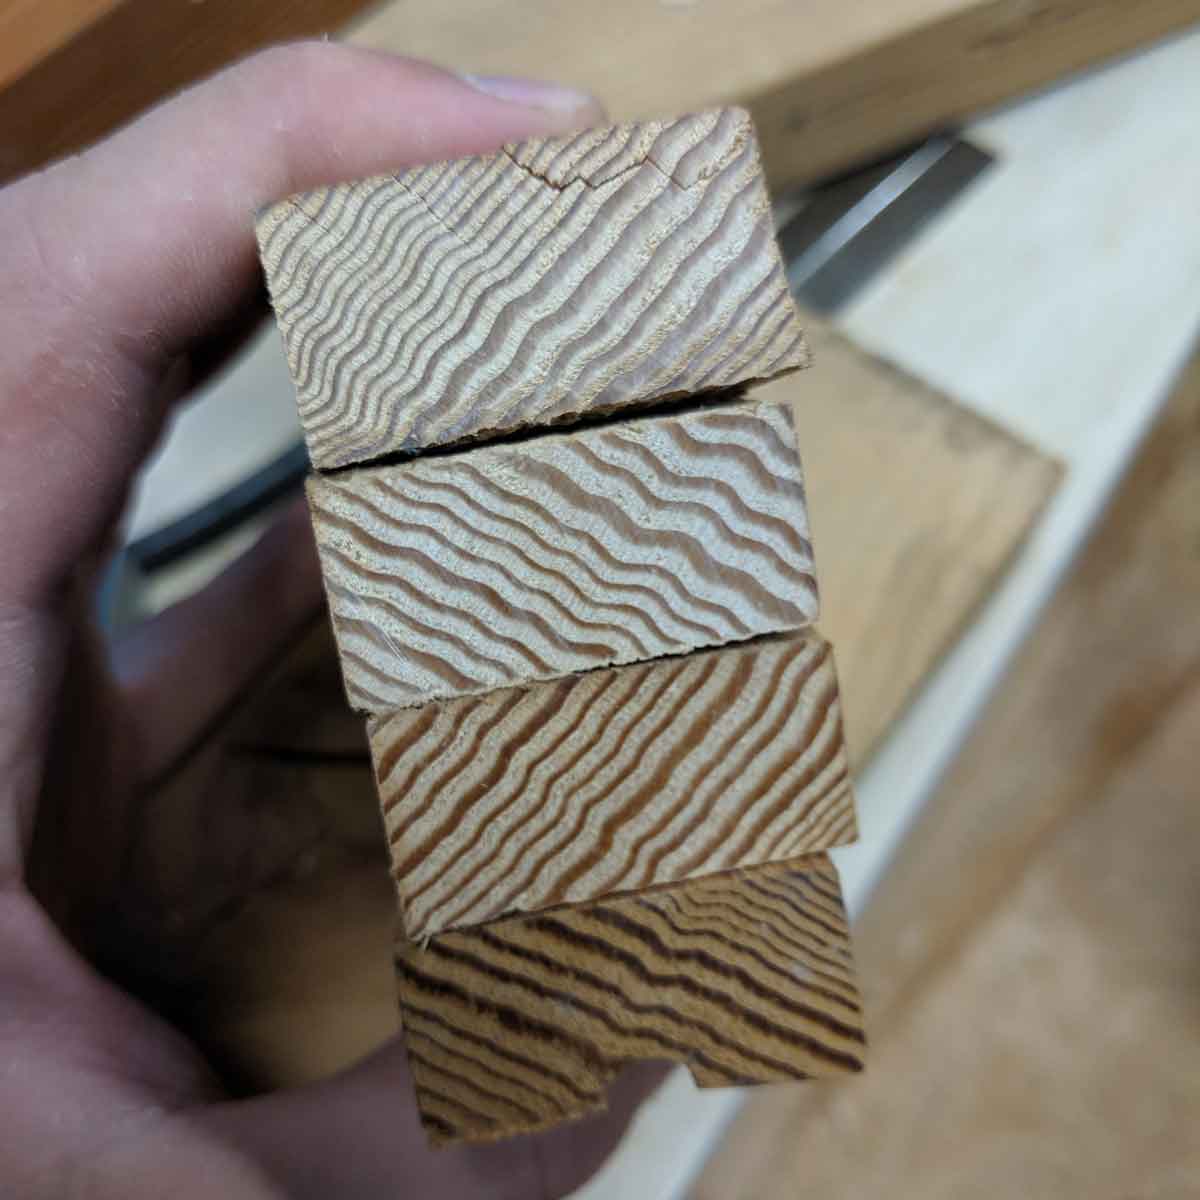
knob, I experimented with a resin and wood combination to try to make something really eye-catching. This time, I decided to use solely wood, but create an
interesting pattern by arranging the grain of the wood. I had some lengths of 1x2-ish wood -- I have no idea what species it is -- that had a really prominent,
alternating grain pattern running at about 45 degrees across the sides of the pieces. I decided to alternate these pieces, to try and create a visually
interesting zig-zag pattern in the finished piece.
My first consideration was material. For my previous
knob, I experimented with a resin and wood combination to try to make something really eye-catching. This time, I decided to use solely wood, but create an
interesting pattern by arranging the grain of the wood. I had some lengths of 1x2-ish wood -- I have no idea what species it is -- that had a really prominent,
alternating grain pattern running at about 45 degrees across the sides of the pieces. I decided to alternate these pieces, to try and create a visually
interesting zig-zag pattern in the finished piece.
 I started by cutting down a few of the lengths to square cross-sections. Then, I glued 4 or 5 of them together on each face. Once this dried, I cut the
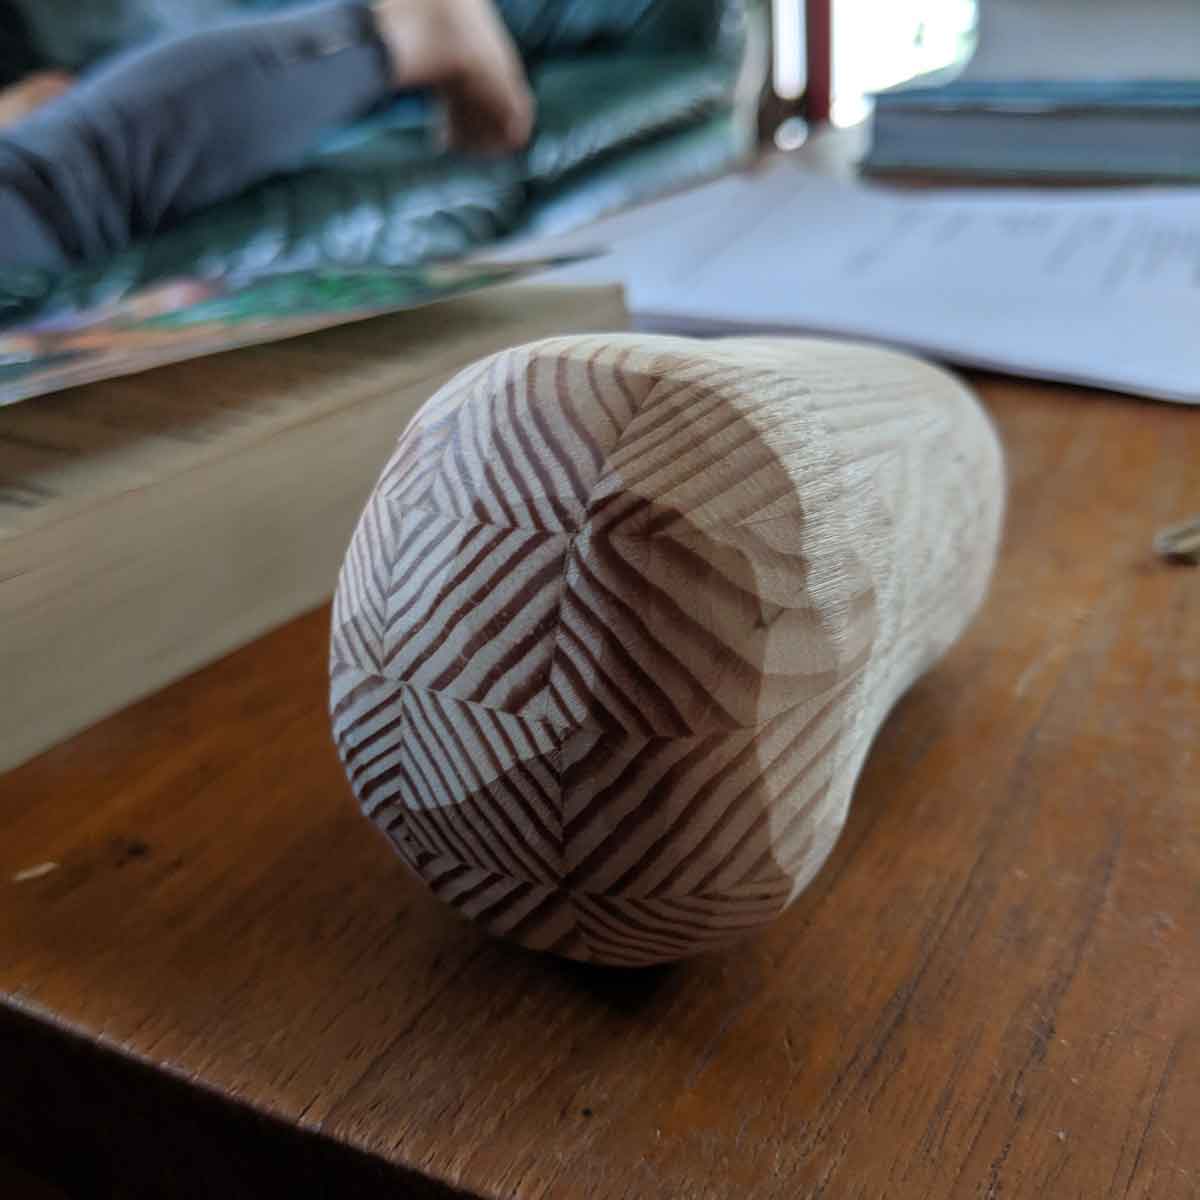
resultant slab into 4 or 5 sections, and glued those together. I ended up with a block which, when viewed from the end, was divided into squares of alternating
grain. I couldn’t wait to keep going, so I took the block straight to the belt sander to start roughing-in the final shape. Once I had removed a good chunk of
the material around the base, I drilled a recessed hole in the bottom and took it for a test fit.
I started by cutting down a few of the lengths to square cross-sections. Then, I glued 4 or 5 of them together on each face. Once this dried, I cut the
resultant slab into 4 or 5 sections, and glued those together. I ended up with a block which, when viewed from the end, was divided into squares of alternating
grain. I couldn’t wait to keep going, so I took the block straight to the belt sander to start roughing-in the final shape. Once I had removed a good chunk of
the material around the base, I drilled a recessed hole in the bottom and took it for a test fit.
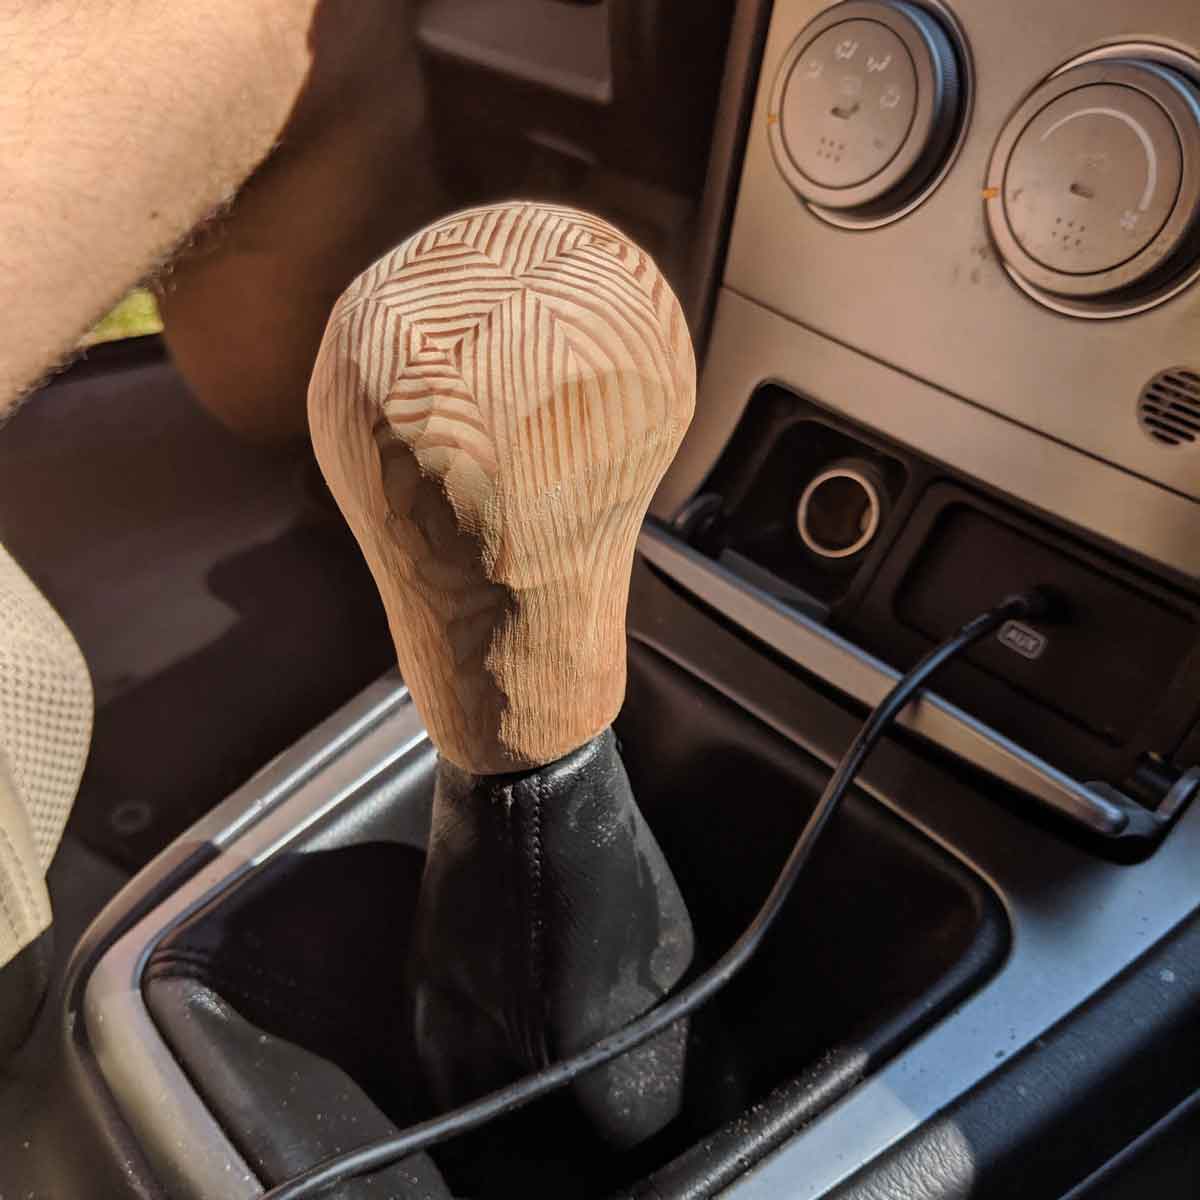 Originally, I wanted to use some sort of threaded insert in
the base of the knob, to grip the wood and mate with the thread on the arm. However, the threaded shaft on the car end turned out to be a very specific, fine
metric thread, and I couldn’t find a matching female threaded piece anywhere. So, I decided to just drill a round hole in the knob and use the threaded shaft
itself to cut threads into the piece. It’s not ideal, but it worked.
Originally, I wanted to use some sort of threaded insert in
the base of the knob, to grip the wood and mate with the thread on the arm. However, the threaded shaft on the car end turned out to be a very specific, fine
metric thread, and I couldn’t find a matching female threaded piece anywhere. So, I decided to just drill a round hole in the knob and use the threaded shaft
itself to cut threads into the piece. It’s not ideal, but it worked.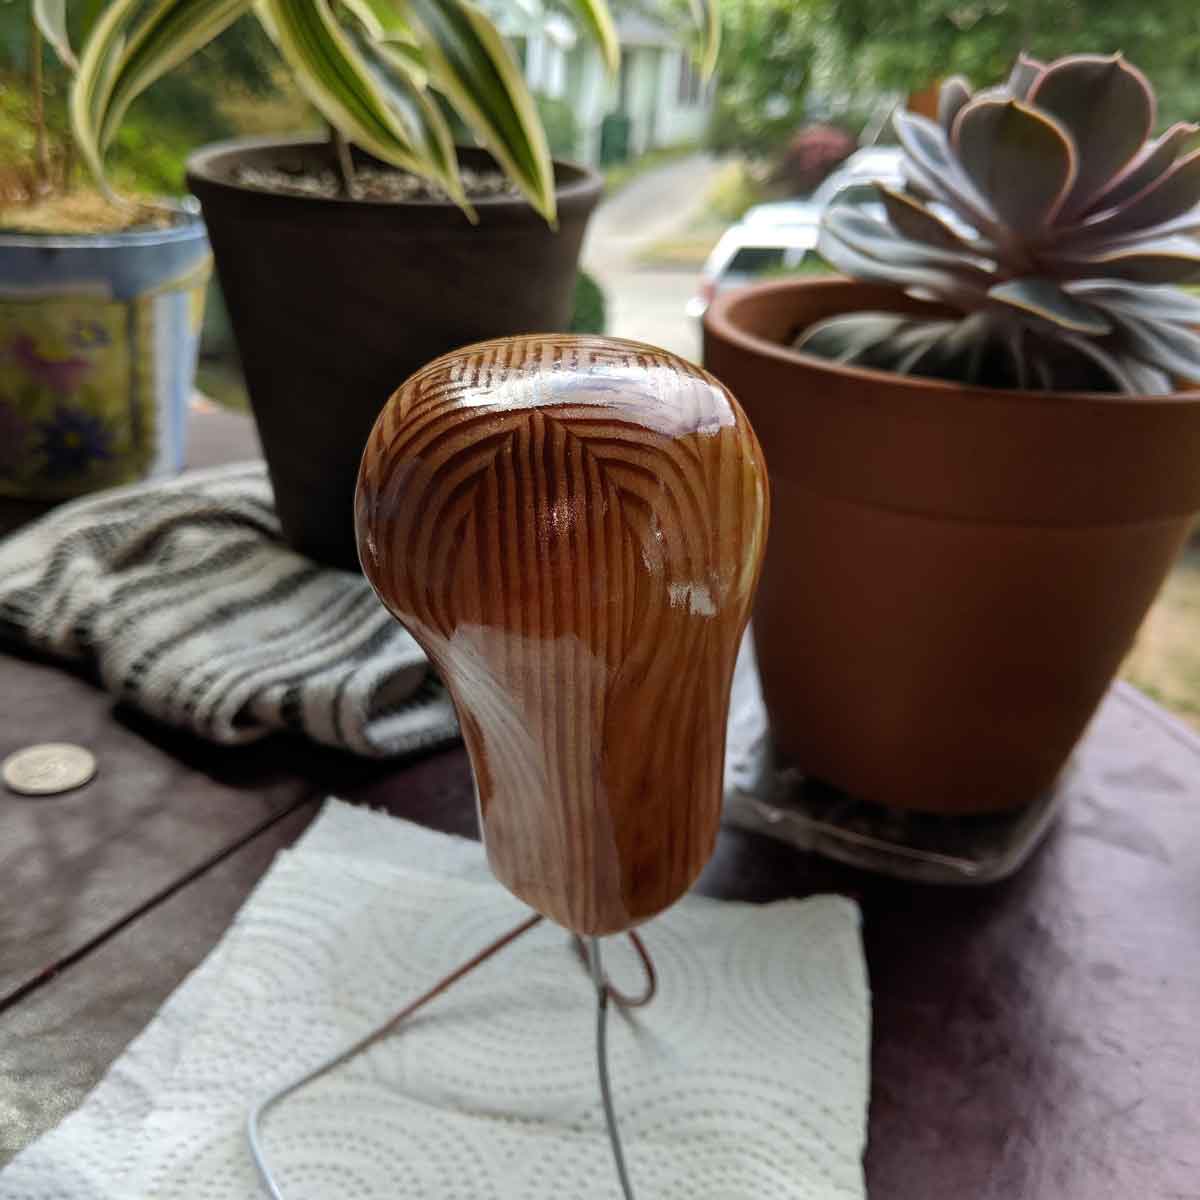
After testing and refining the shape of the knob, I was happy, and it was time for finishing. Many hours of hand-sanding, poly coating, and sanding again later, and I had a smooth knob with a wonderfully smooth, glassy polyurethane finish. I’d call this one a complete success, and after driving with it for many months now, I can confirm that I nailed the hand-feel -- it really feels natural to use. Great success!