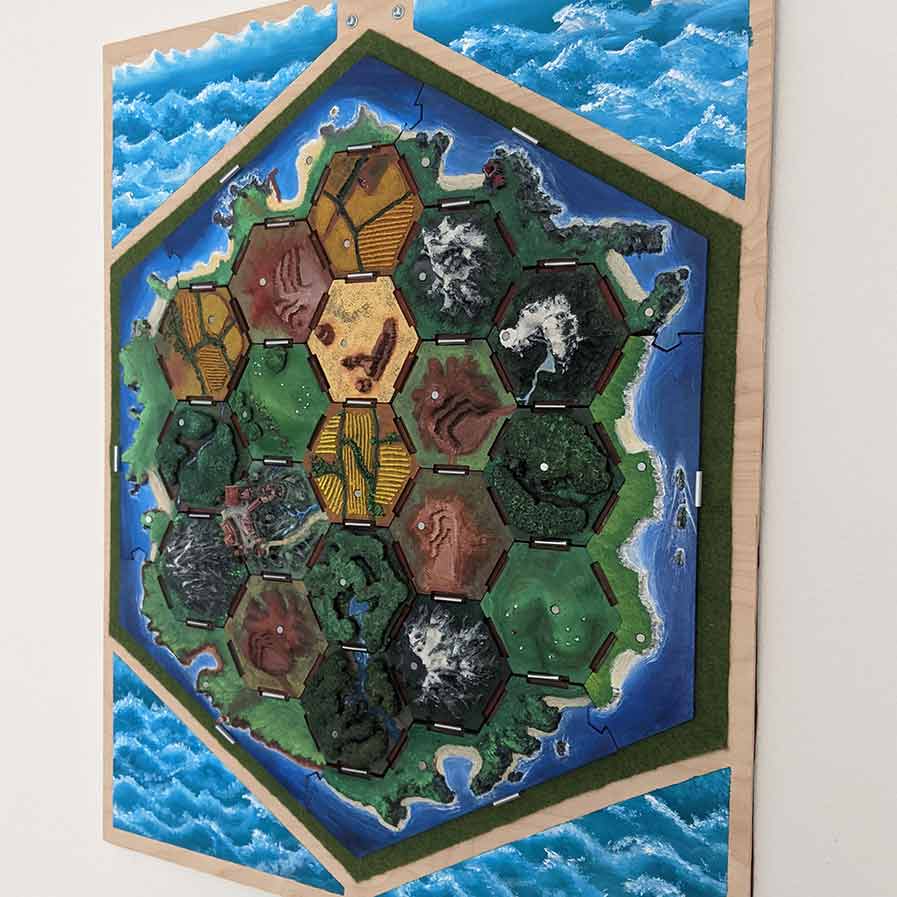
September 2020
catan display board
Note: this is Part 3 of my 3D printed Catan project: Part 1 can be found here, and Part 2 can be found here.
Some background -- I’ve invested a lot of time and effort into creating a 3D printed Catan set, which I learned a lot from and am really proud of. However, for the last couple years, it has been moving around from various shelves, boxes, and cupboards. I had originally wanted to create a nice box for it, with foam and felt interior to protect the pieces. However, I recently realized that what would be really cool would be to create a mountable board to display the project prominently, turning it into a cool piece of prominent, focal wall art.
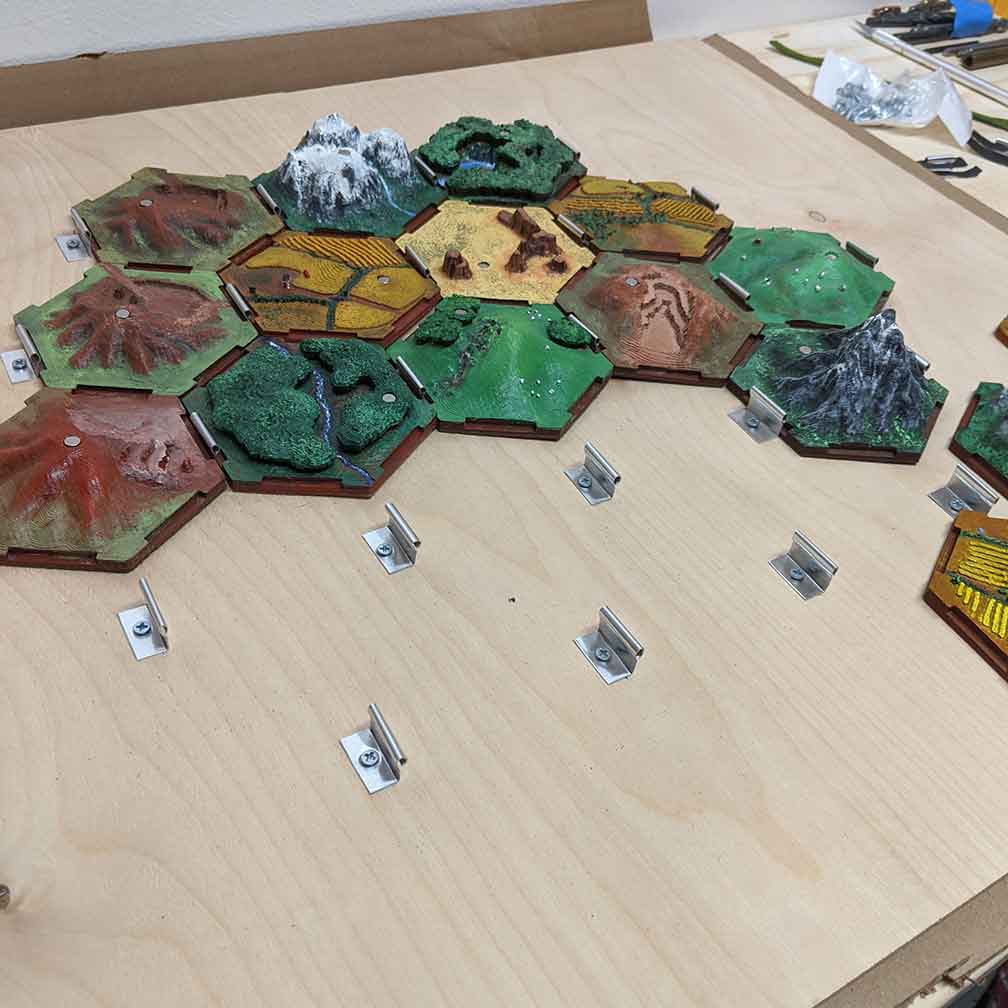 The biggest design challenge to tackle right off the bat was,
how to mount the pieces to the board? I thought about several potential solutions: magnets, velcro, sticky stuff. Ultimately, I settled on a design that I think
is simple, functional, and very attractive: cutting strips of aluminum into small sections and bending them into a shape with an eyebolt-like cross-section, I could use
the flexibility of the aluminum and mount the strips in such a way that I could push a piece into place between two of the strips, where it would be held firmly in
place by its edge. That’s all a bit convoluted to explain, so hopefully the pictures do a good job of demonstrating the idea.
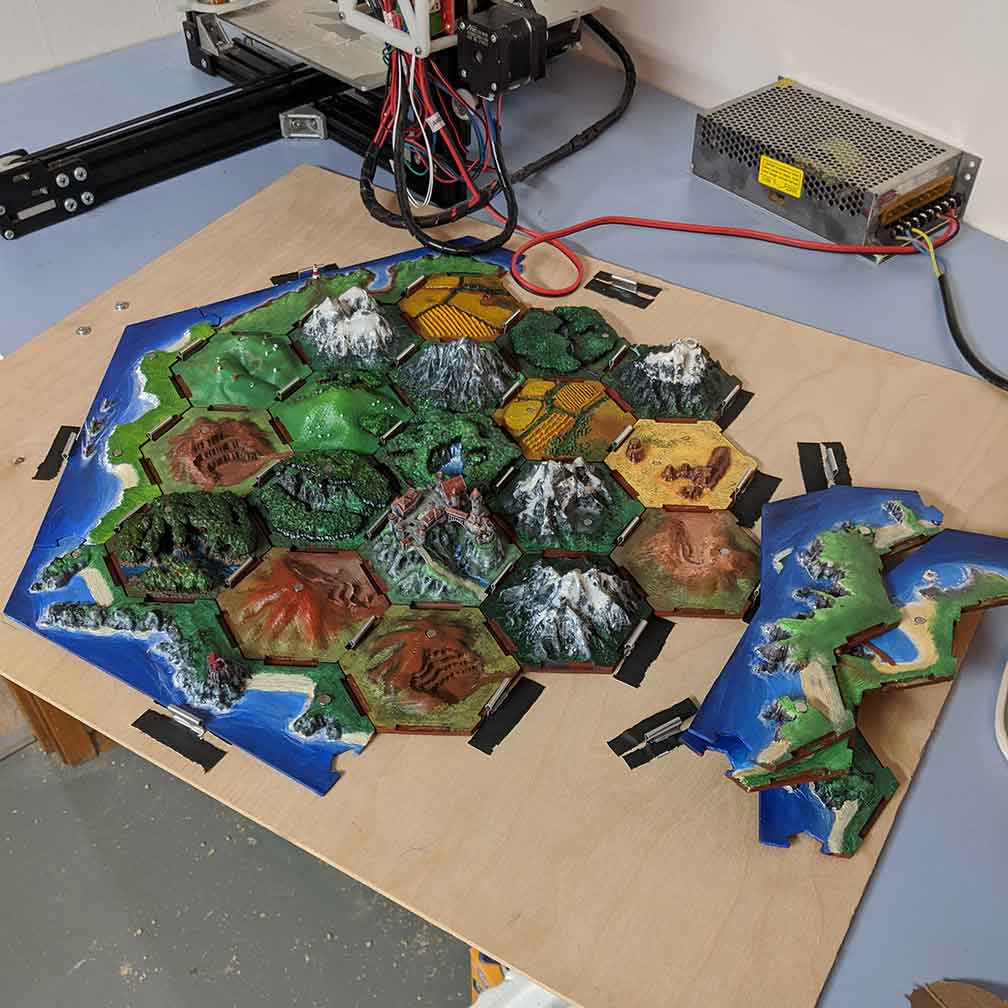
The one big downside of the aluminum strip design is that, although they look very good when all the pieces are mounted, the aluminum loops block some of the indents on the pieces that were originally designed to hold “road” tiles while playing the game. Designed as such, you can’t play a game of Catan while the pieces are attached to the board; they have to be removed and set up again separately on a different surface. Since this was the best and most attractive solution to the wall-mounting problem, I decided to live with this drawback.
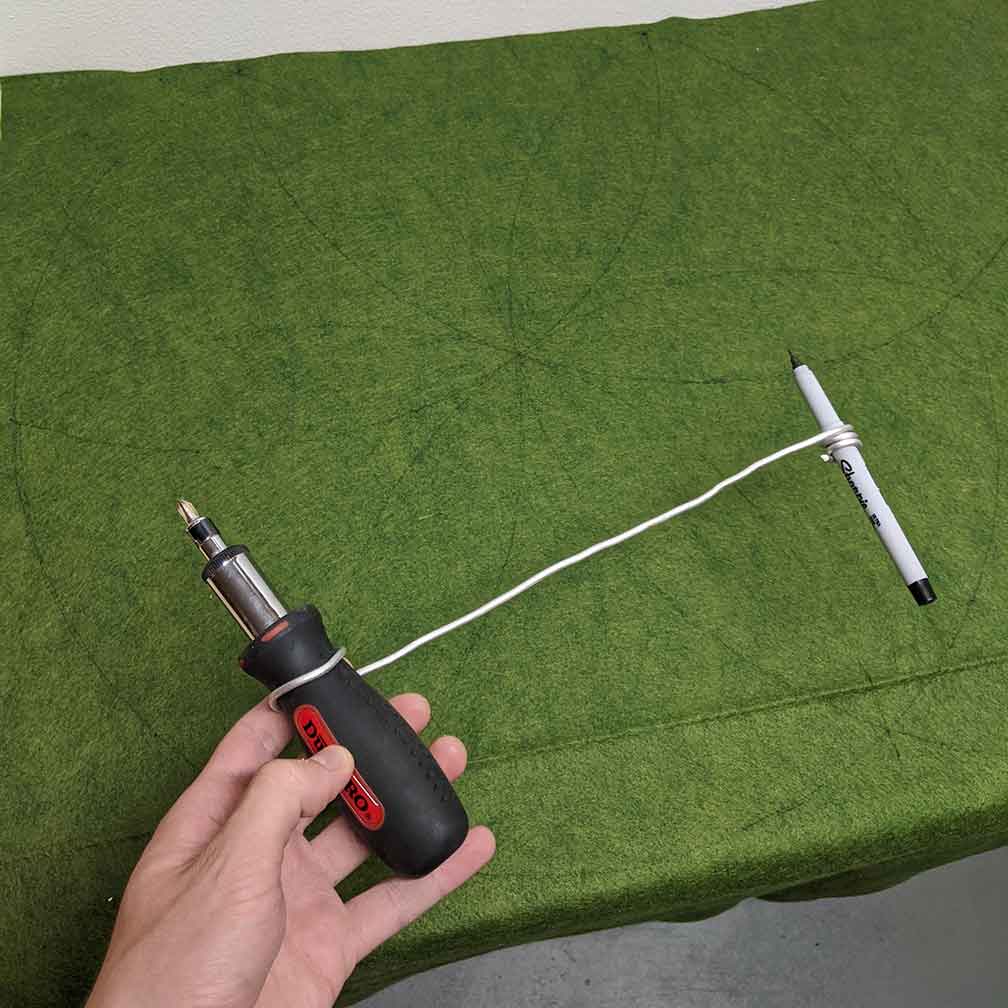 Next, I added felt to the back of the board, and a felt
hexagon to encompass the front of the board and cushion the back of the pieces. In the attached image, you can see my makeshift compass, for scribing a large enough
circle, and you can also make out the circles that I drew to help me perfectly scribe the hexagon. Thanks, Euclid!
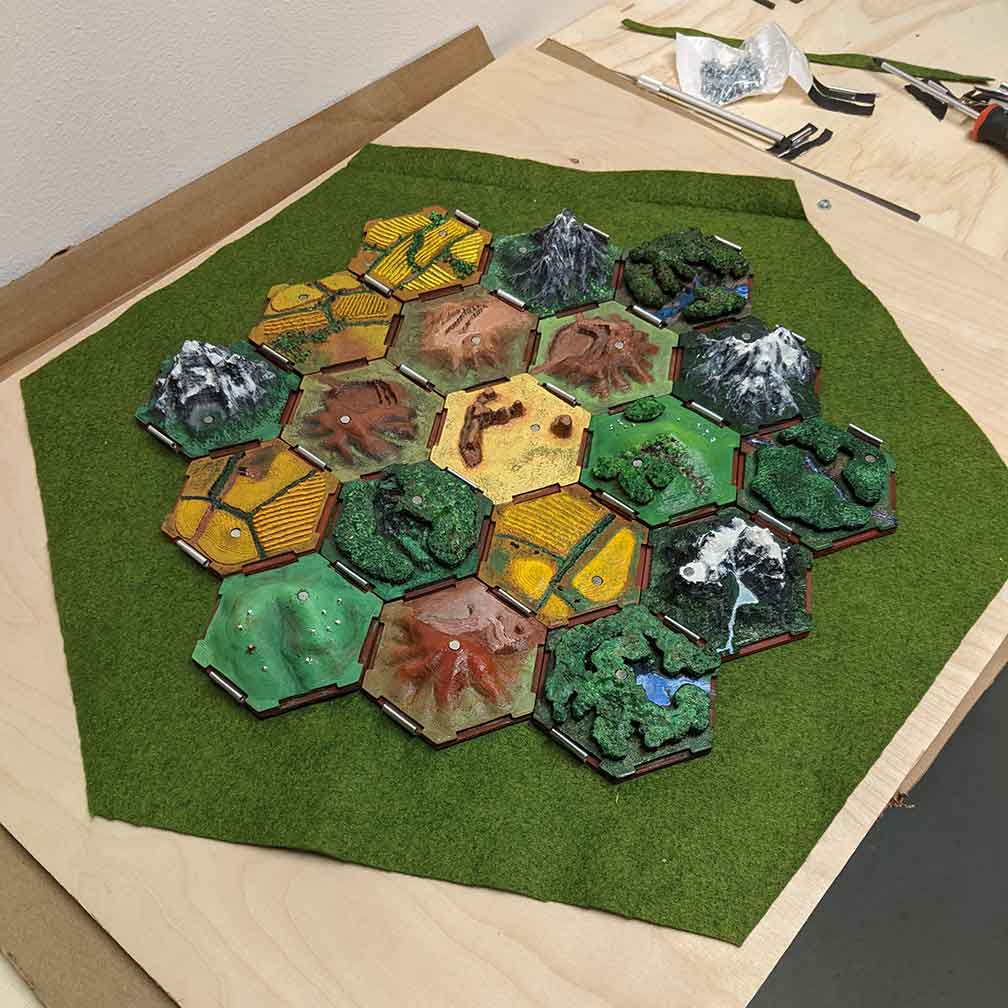 Finally, some finishing touches. I added a picture hanging
mount on the back of the board (to...hang the board, of course), and broke out the acrylic paints to make a crashing-waves motif in the board’s empty space.
At this point, I’m calling the design finished -- however, I think I will come back to this in the future and design a nice wood frame to really finish the edge
of the board and pull everything together. Until next time!
