July 2019
catan castle
Note: this is Part 2 of my 3D printed Catan project: Part 1 can be found here, and Part 3 can be found here.
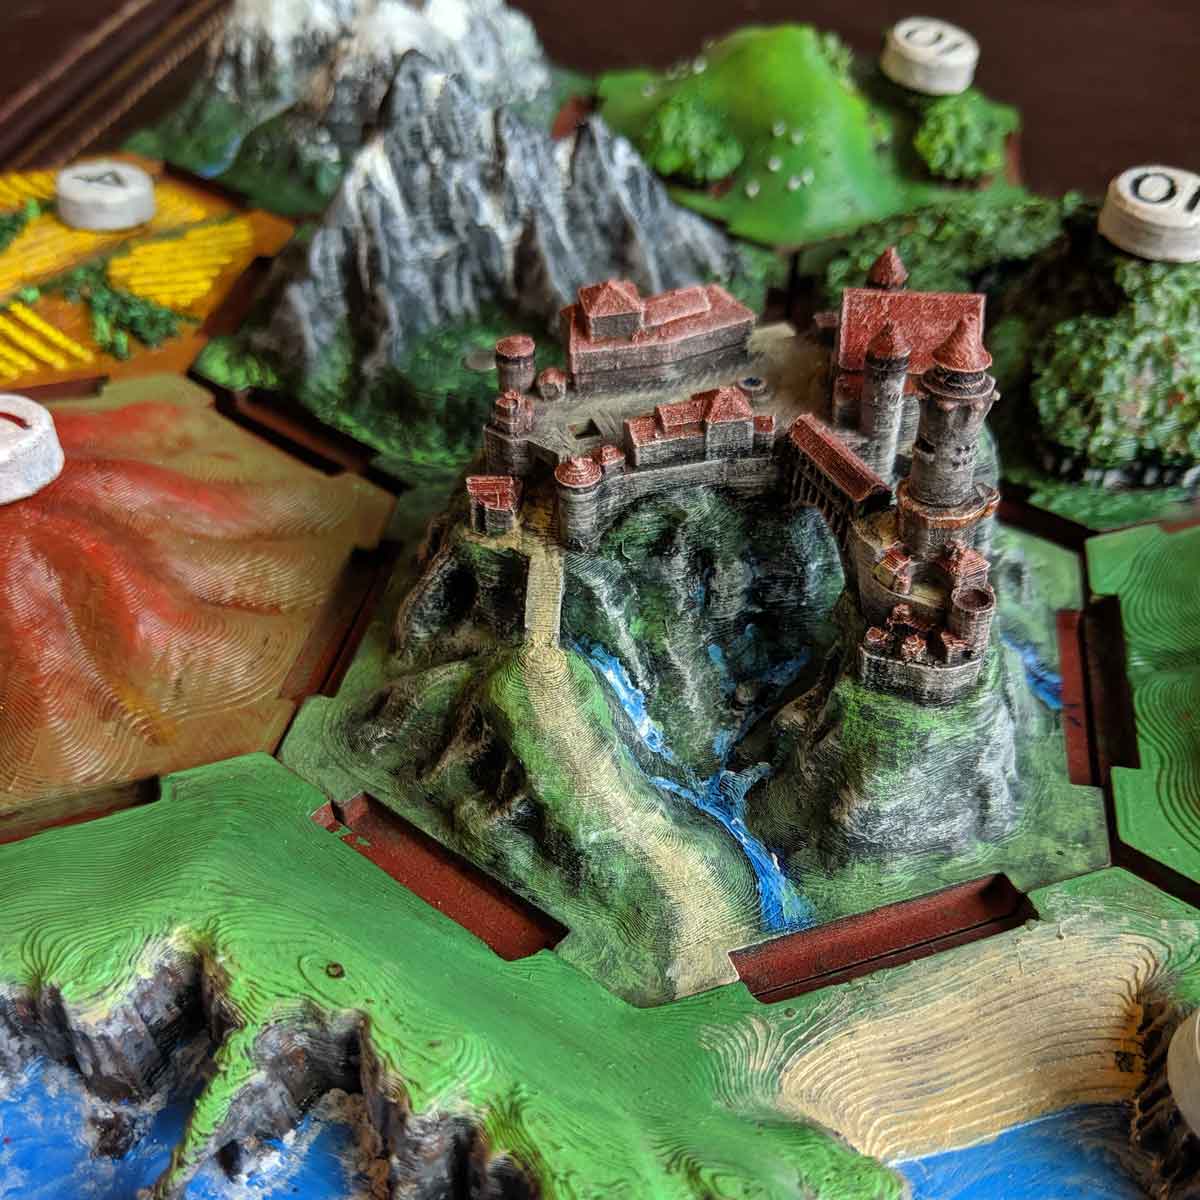
Something about castles has always captured my imagination. I love the history, the incredible architecture, the crucial elements of defensibility, usability and utilization of existing geography that shape their design. I think they can be aesthetically incredible, and I wanted to create one of my own. So, I came up with the idea of, just for fun, modelling up and printing one that would fit into my existing 3D printed Catan set.
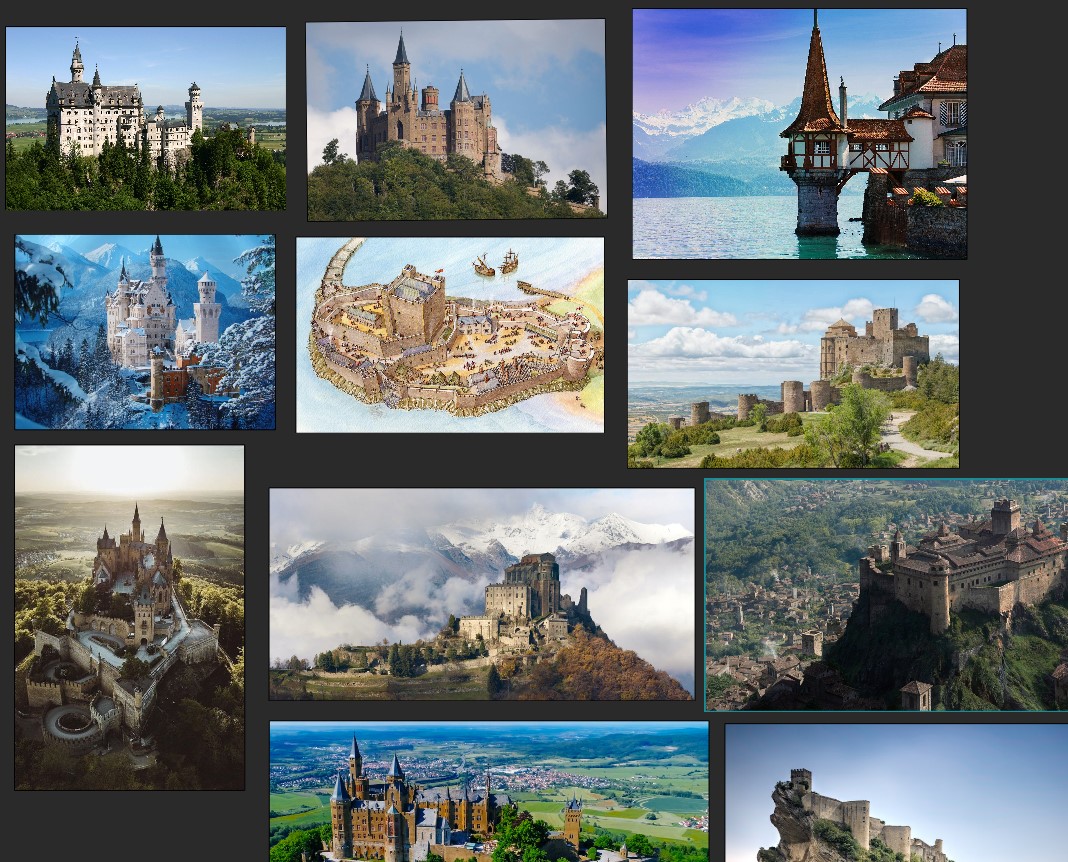 First up, I gathered a bunch of reference images and
got to work on roughing in a design. I wanted to create something with lots of detail, incorporating medieval/fantasy elements like pointed parapets and a
flying bridge, while also feeling like something that was at least grounded in a realistic layout and design for a real castle. Using Blender for my modelling,
I started with the terrain, trying to create organic organic shapes for a pathway, river valley, and surrounding cliffs. Then, adding on chunky basic shapes
one at a time, I gradually added detailed buildings to fill out the hexagon.
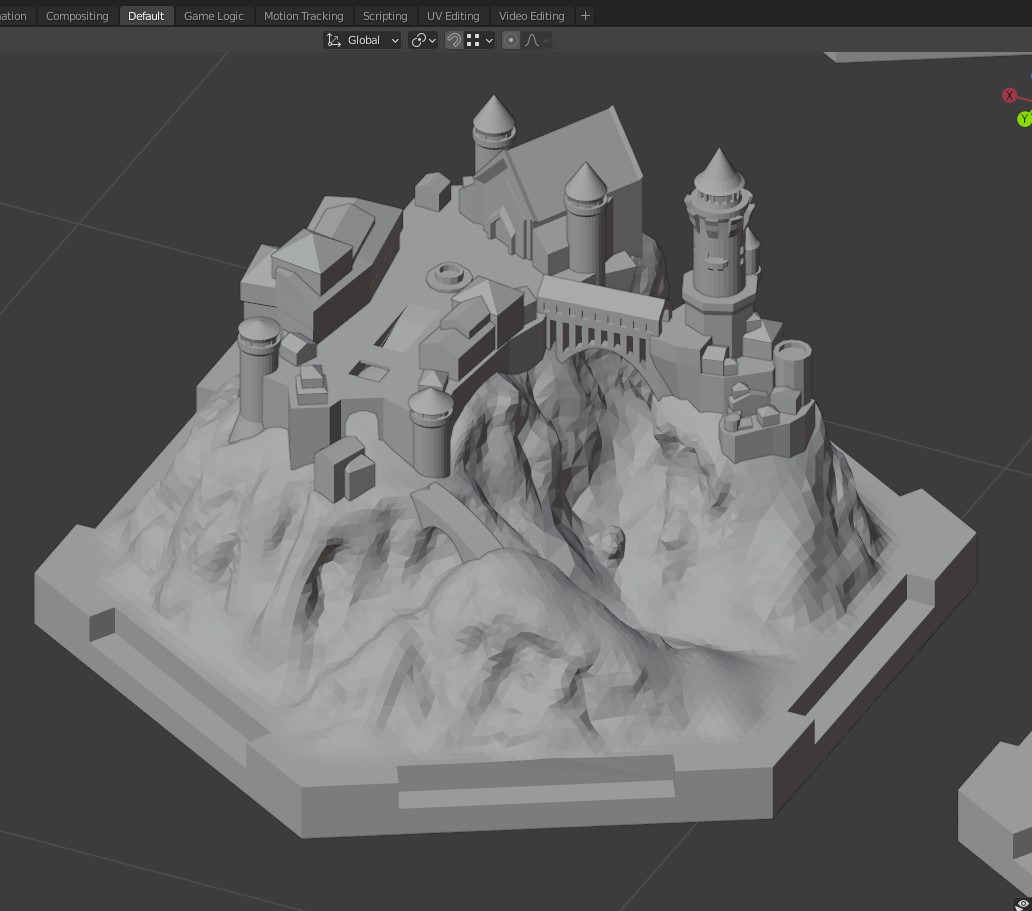
One thing that can be a real challenge while designing printable miniatures is knowing how much detail you really need. Every printer, including mine, has a certain amount of printable fidelity; if you design features microns wide, they will disappear in the lesser accuracy of the final printed piece. Yet, it can be hard to keep a sense of scale when you are designing things in a 3D simulated environment; you can zoom in endlessly and, if you’re inspired, you want to add more and more detail the further you go down.
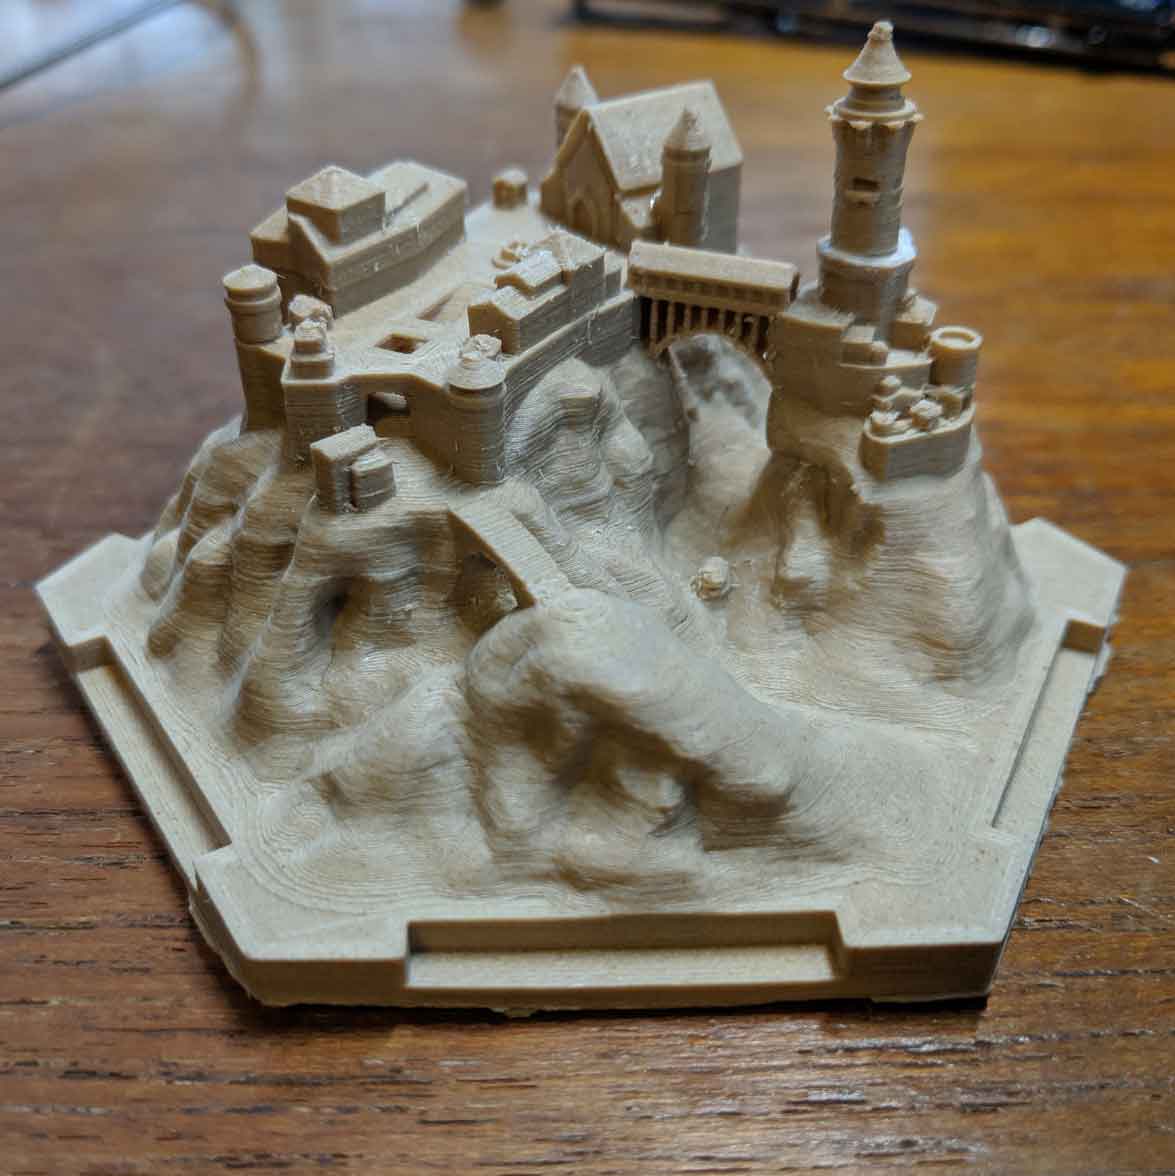 Tangent aside, I really like how the first print
came out. There were some details that were too small to appear; however, I was able to simulate a lot of detail with painting techniques, so it’s a wash
(wow, what a pun!). Starting into painting, I laid down some basic dark base colors for the rocky ground, and after that dried, I worked in a stream on
top by blending blues and whites in place while wet.
 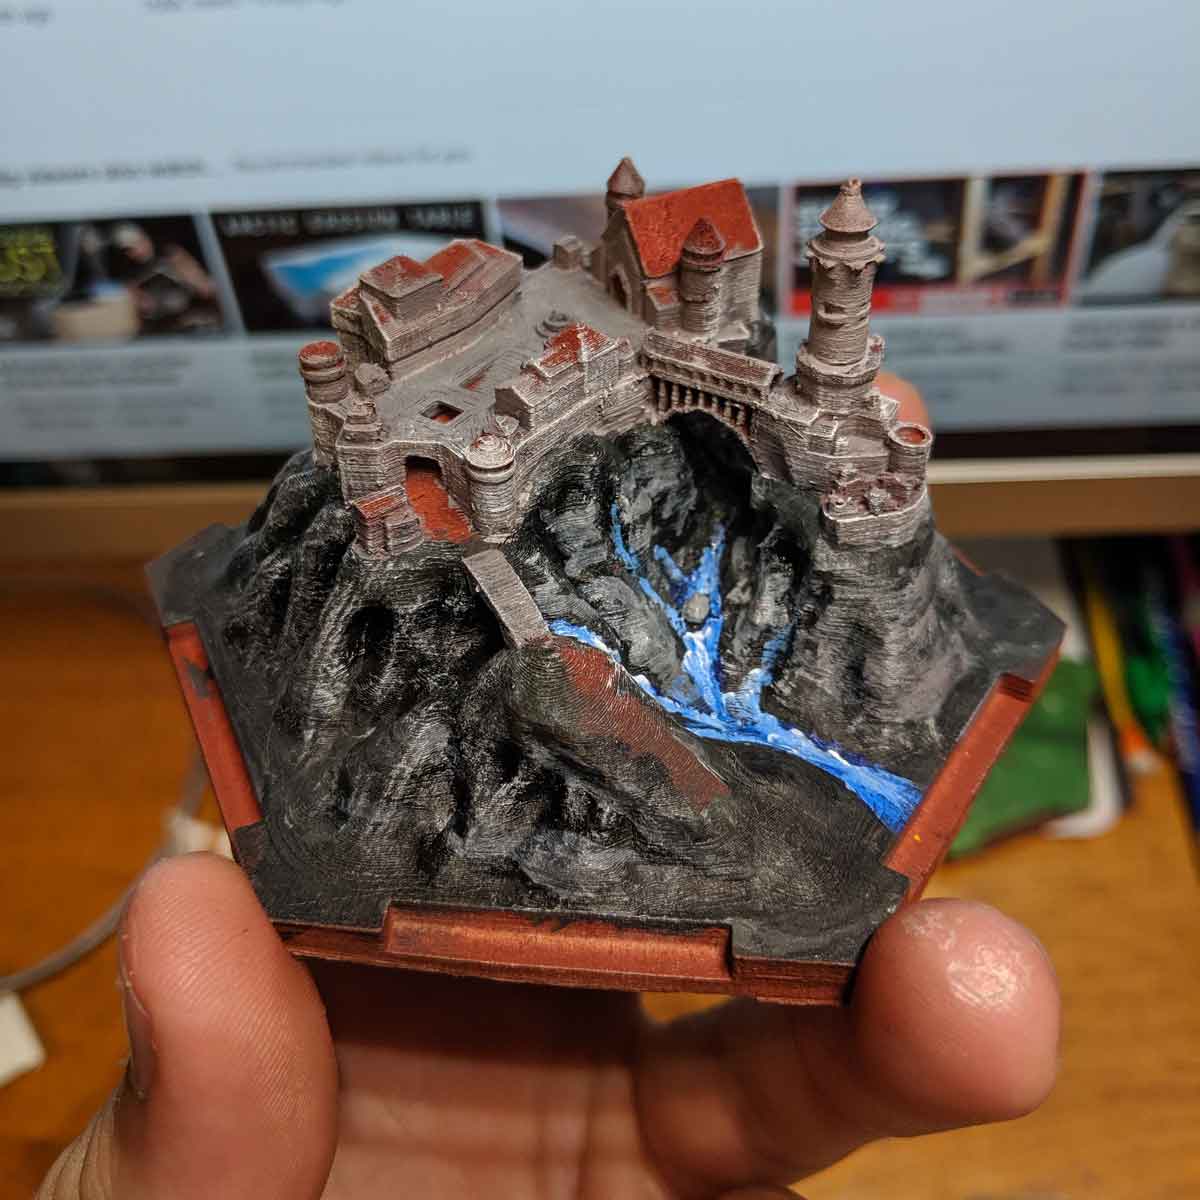 Next, I got the green grass, pathway, and red roofs all painted, and did a dark wash to make the nooks
and crevices of the cliffside really pop with contrast. Finally, I did some drybrushing with white and light grey to accentuate the edges of the roofs and
the cliffs. Again, I think this step does a lot to bring in contrast and make the whole piece pop.
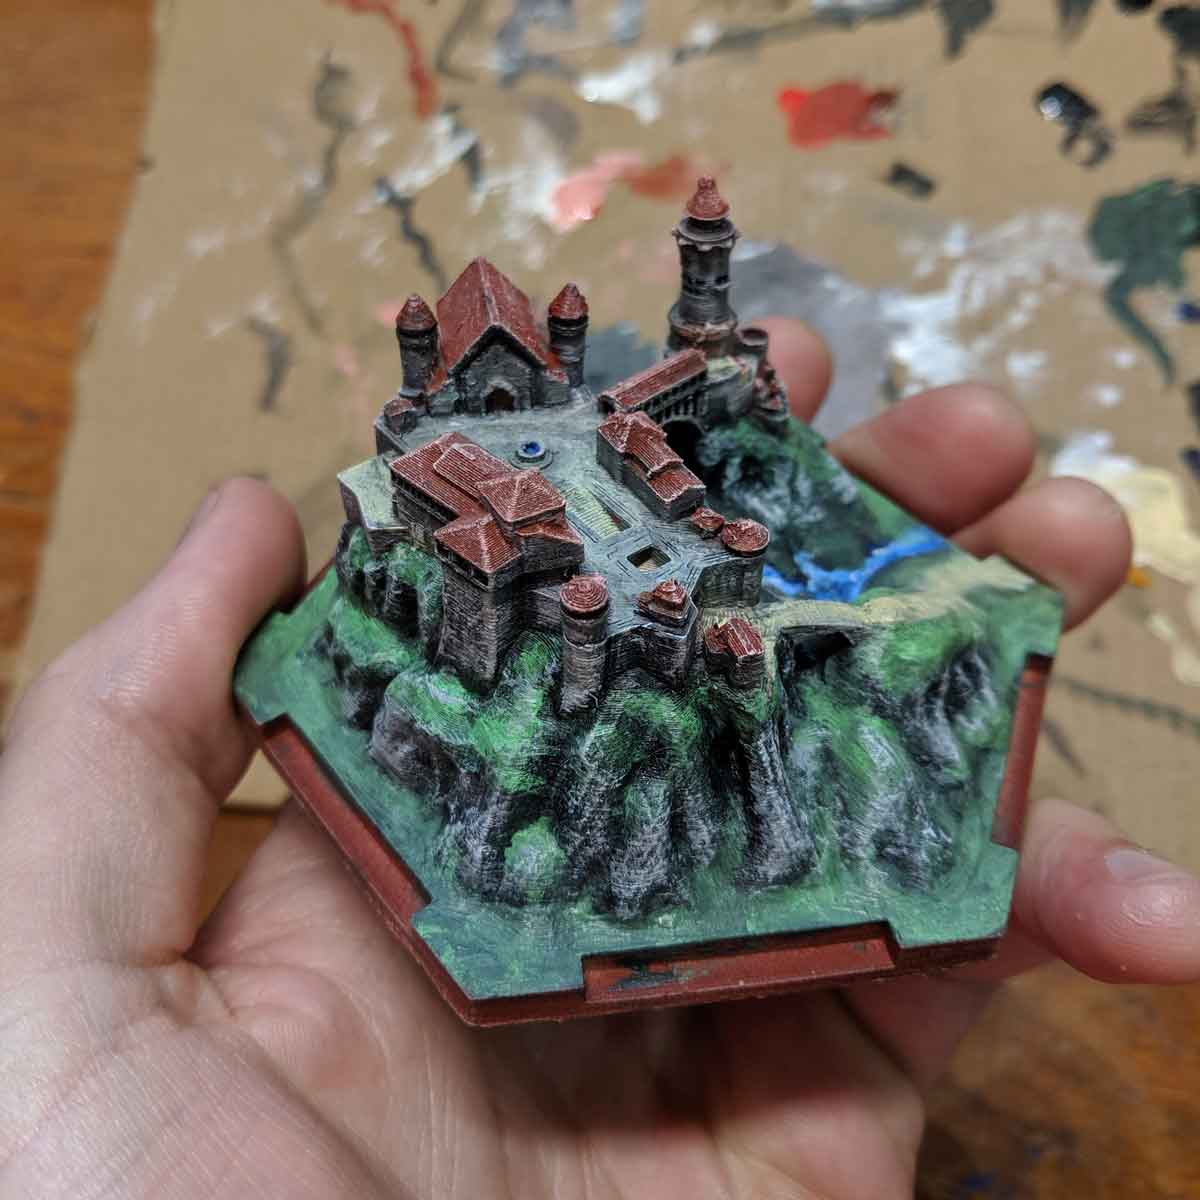
After sealing everything with a few sprays of clearcoat, it was ready to fit into place! I think it turned out great, and this quick build actually sent me down some more creative pathways -- I started working on designing several other castles, and thinking up how I could actually incorporate them into the game of Catan with my own, amended ruleset. However, this one is on the backburner for now, and will have to wait for a future post!
