March 2021
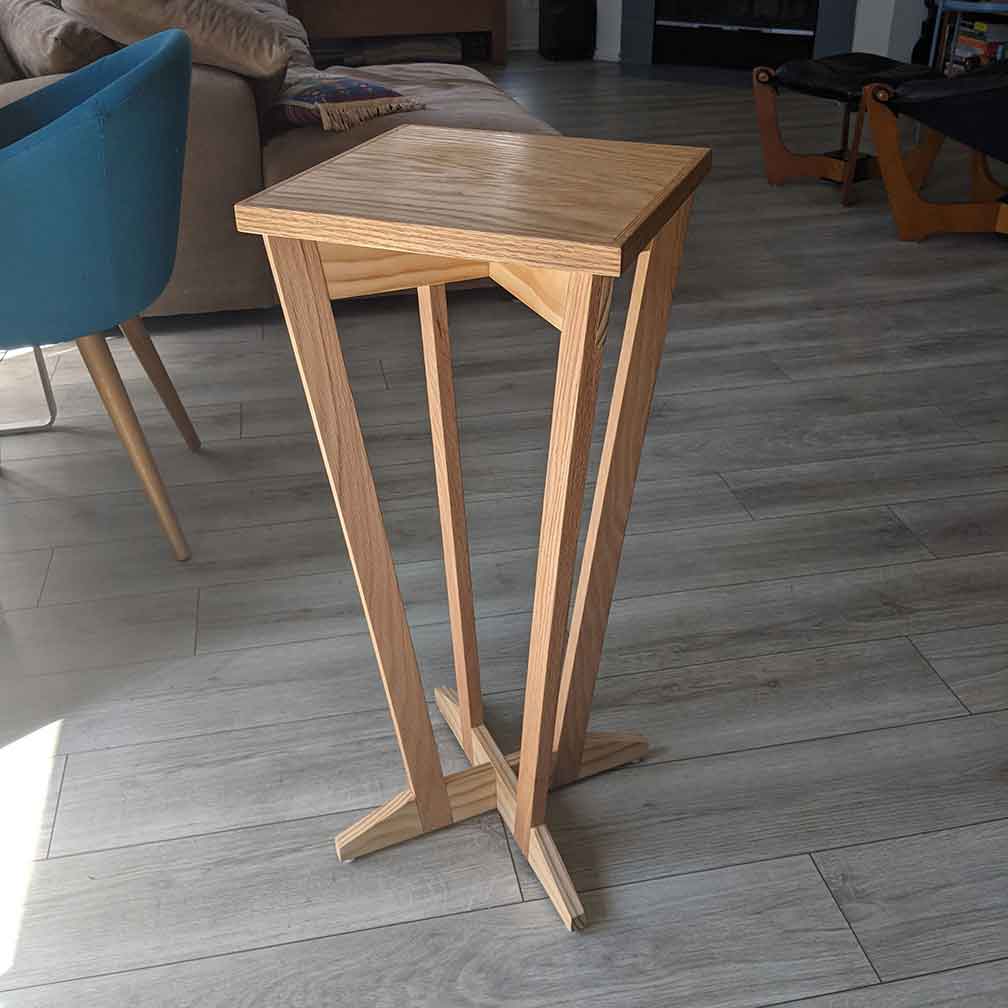
end table
I’m going to preface this project with a bit of context: I’ve been watching maker videos on YouTube for a long time. There are many creators out there with really cool channels, that I find really enjoyable to watch for lots of reasons. You get to watch craftspeople work on a piece from start to finish, often to a really cool final product, observe how they tackle problems and design ideas, and often hear insights and thoughts they have during the creative and problemsolving processes.
Lots of times, they are working through a design as they build it, which can be really thought-provoking. However, one of the most daunting things about these videos is the massive, kitted-out workshops these creators often have -- they spout off about how “you can do this too!” while bouncing from one $10,000 machine to the next.
Anywho, that’s all to say that in early 2021, I decided to get myself a basic table saw and join the ranks of people who could make things with wood. I’ve done some wood projects in the past, but they have been far short of “fine” woodworking -- mostly consisting of 2x4’s, plywood, and screws. With the tablesaw, I really felt like I could flex some woodworking capability and start making projects that actually felt and looked nice.
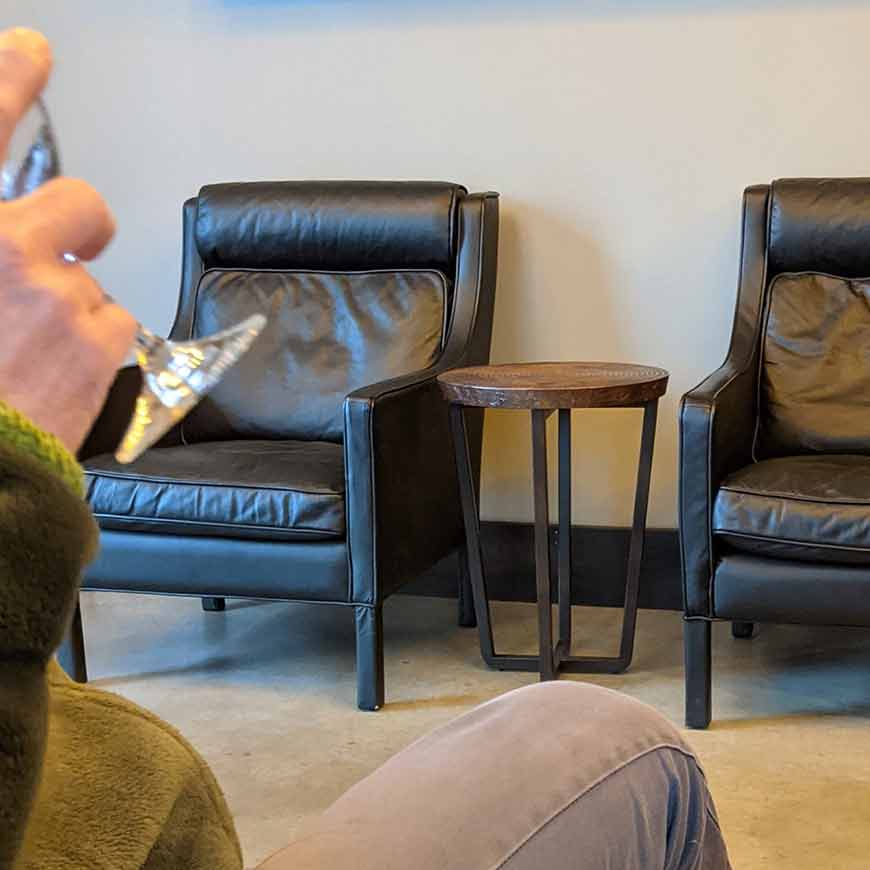 My first inspiration came to me while snowed in in Walla Walla (double double!) -- this end table caught my eye,
and I really liked the taper of the four legs as they go down to the ground. I decided to come up with a design to build in wood, utilizing my new saw. I whipped up some
designs in SolidWorks and SketchUp to work out the proportions and leg angle, and decided to connect the leg uprights and cross-members using half-lap joints -- which I figured
would run through the table saw just fine.
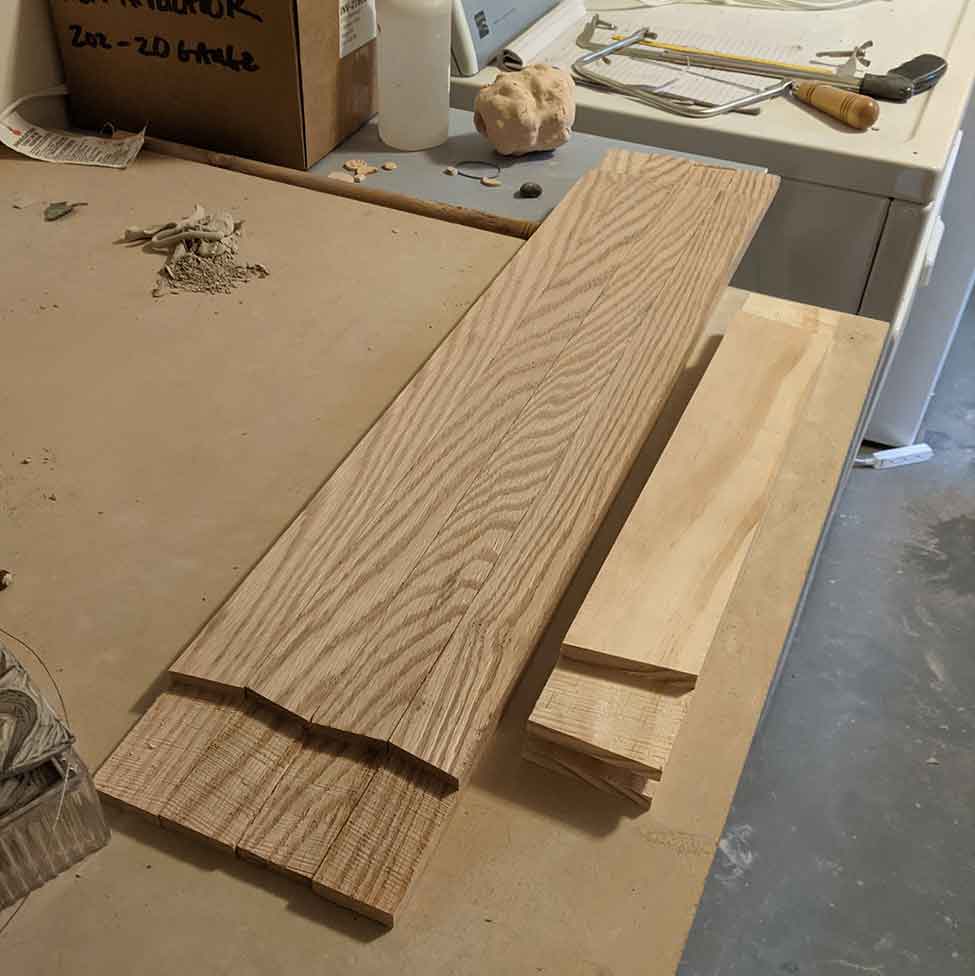
After a quick run to the Home Depot, I was ready to cut wood. I actually chose two different stocks for the legs (oak and pine) -- I figured the difference would be visually appealing in the end piece. I was so excited to get going, I just ran all the pieces through immediately, using the saw’s provided miter gauge to get the angle that I wanted on the lap joints. Lacking a dado blade, I just ran each piece through the normal blade a dozen times or so, and cleaned it up with a chisel.
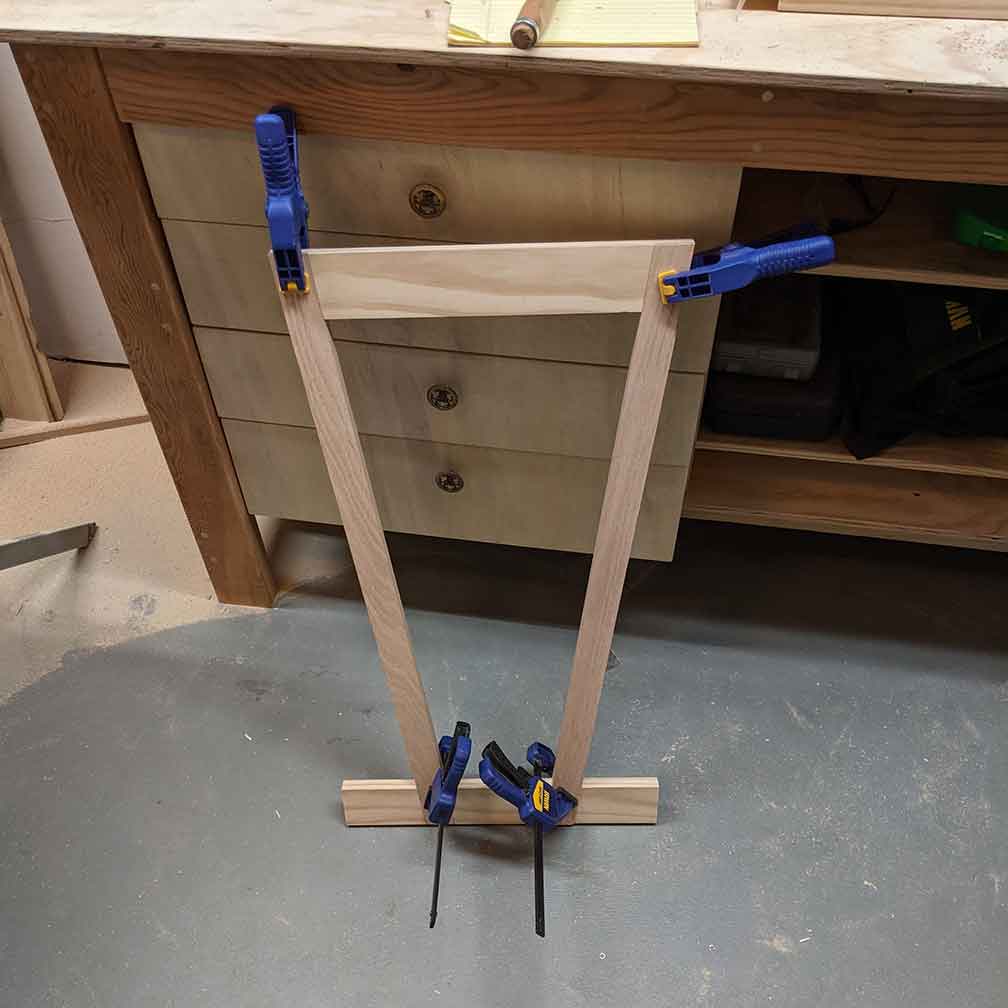 After cutting the pieces, it was time to clamp one set together and see the design start to come to life. I loved it
immediately. After cutting a taper on each foot piece (to make it feel a bit lighter and less clunky), and drilling out some slots to attach to the tabletop, it was time to glue
the legs all up.
 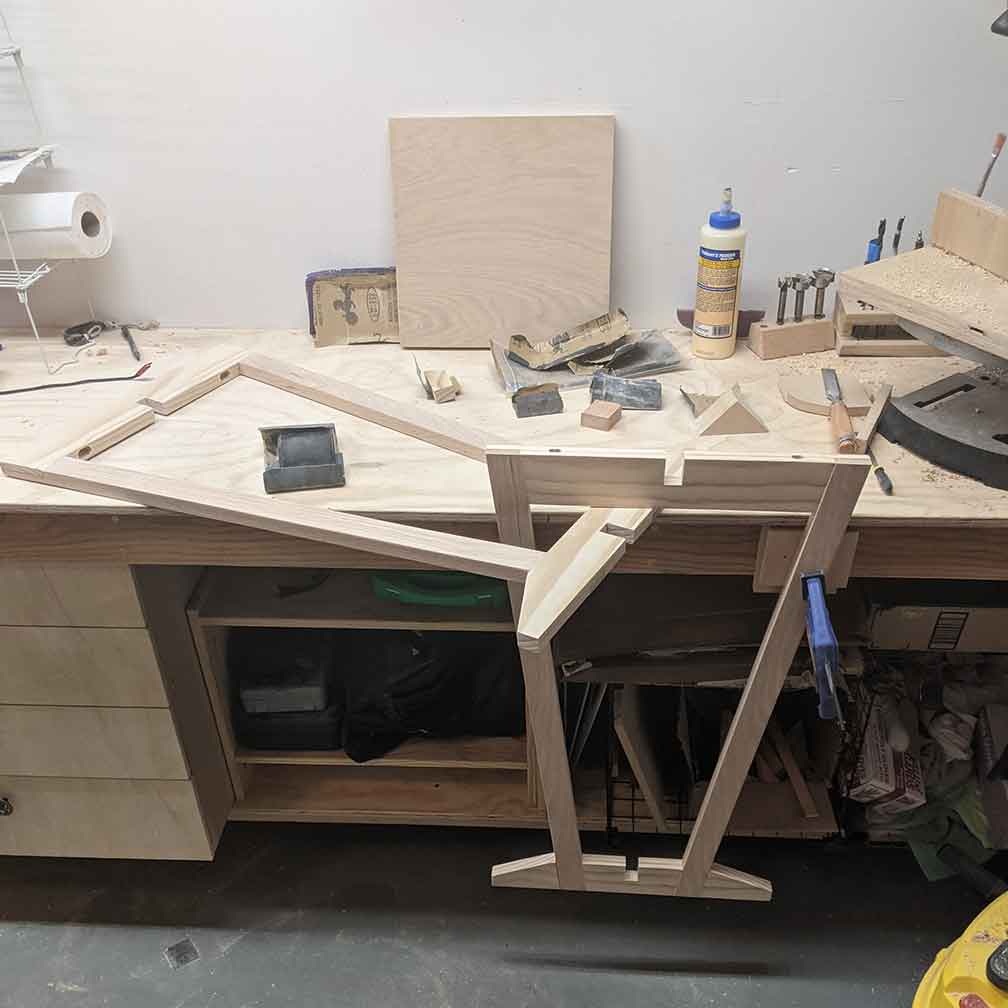 Because of the way the two leg halves join up, slotting into each other at 90deg, I had to glue the
pieces up as two interlocking rings; even though the halves can unlink, they cannot be fully separated. Just for fun, I looked at the design if the leg section was flipped
upside-down, and honestly I don’t hate how it looks! However, I think the original design does look better, and I had already drilled the attachment holes for the tabletop.
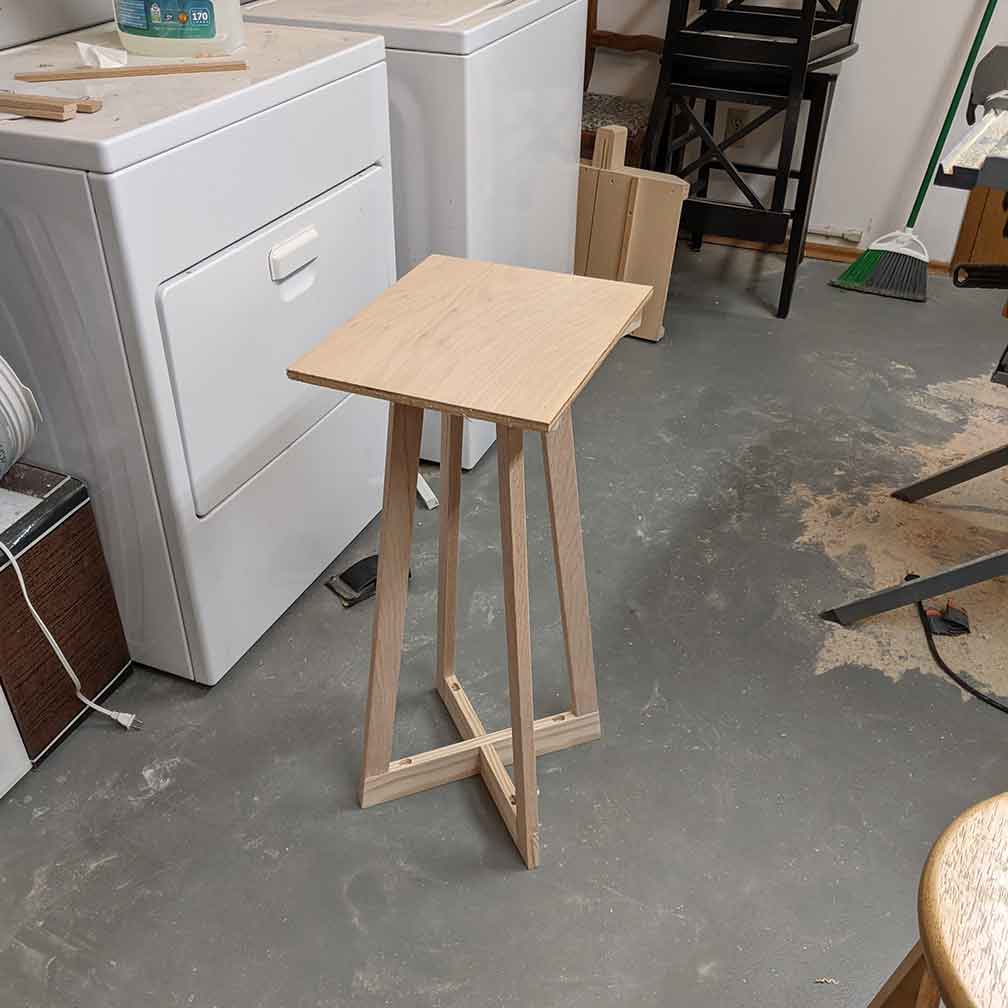 The tabletop was a bit of a chore. I tried to use oak strips to seal the edges of my plywood top, which ended up
looking really nice actually; cutting these down to flush with the top turned out to be a real challenge for my basic plane, however -- I have a bit to learn in that department.
Next, I used some brass threaded inserts to provide attachment points for the legs, and one of them blew up halfway inserted -- I had to cross my fingers and drill it out, hoping
not to destroy the top in the process.
At last, it was time to sand down and finish the piece -- a bit of danish oil and polyurethane for the top did the trick. I really took some time sanding down coats of the poly, and wound up with a really silky smooth finish that feels wonderful. As a first real wood project, I’m really proud of this. I like the design, was able to develop and refine the design while building, and really built some comfort with some of my tools -- the saw, chisels, and the plane. Not bad!
